I don’t know about y’all, but my very least favorite ranch chore was cleaning and filling plastic waterers for the fowl. I love love love our chickens, guineas, ducks, and turkeys, but they can require a lot more daily maintenance than the ranch livestock and I was ready for a better solution.
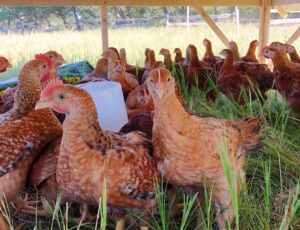
We free range all of our fowl and we’ll be building out new chicken tractors for the pastured meat birds that allow for free ranging with tractor movement throughout the pasture then we’ll be adding watering systems around the ranch within their reach. In the meantime, we are swapping out all plastic waterers in the tractors and brooder coops for metal cans. Bonus with the metal is that they can be used with a heated base in the winter. Keep on reading for our no/low maintenance solution for the free range crew.
Creating an Automatic Waterer System
We’re a no input ranch. That means no chemicals and no pharmaceuticals. Environmental stewardship is key and clean and fresh water is essential. Dirty, stagnant water can harbor pathogens and parasites that can cause illness or even death.
Adequate water intake is necessary for digestion, metabolism, and maintaining body temperature. Without access to clean water, poultry and livestock can become dehydrated and suffer from a variety of health problems such as constipation, reduced appetite, and decreased egg production in poultry and reduced growth and milk production in livestock. We know you know, but we had to say it–water systems are oh so important.
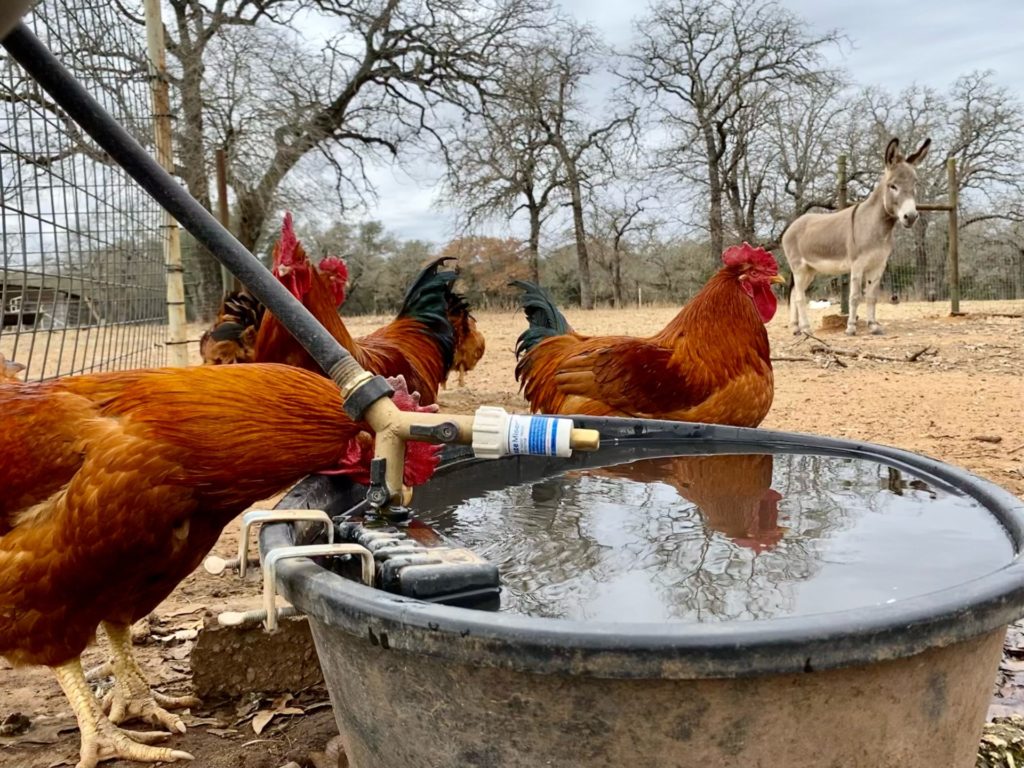
Place 15 Gallon Trough on a level surface within hose distance to a water spigot.
Connect BPA- and Lead-Free Drinking Hose to spigot.
Connect Brass Hose Y Splitter to end of Hose.
Connect Freeze Miser Faucet Protector to one side of the Y Splitter.
Connect Float Valve to the other side of the Y Splitter.
Connect Float Valve securely to the Trough and position level to the ground.
Position Freeze Miser over trough–this will ensure that as the Freeze Miser trickles water it drops into the trough, preventing the trough from freezing over.
Open both valves on Y Splitter.
Open spigot valve and fill trough. Spigot valve should remain in the open position.