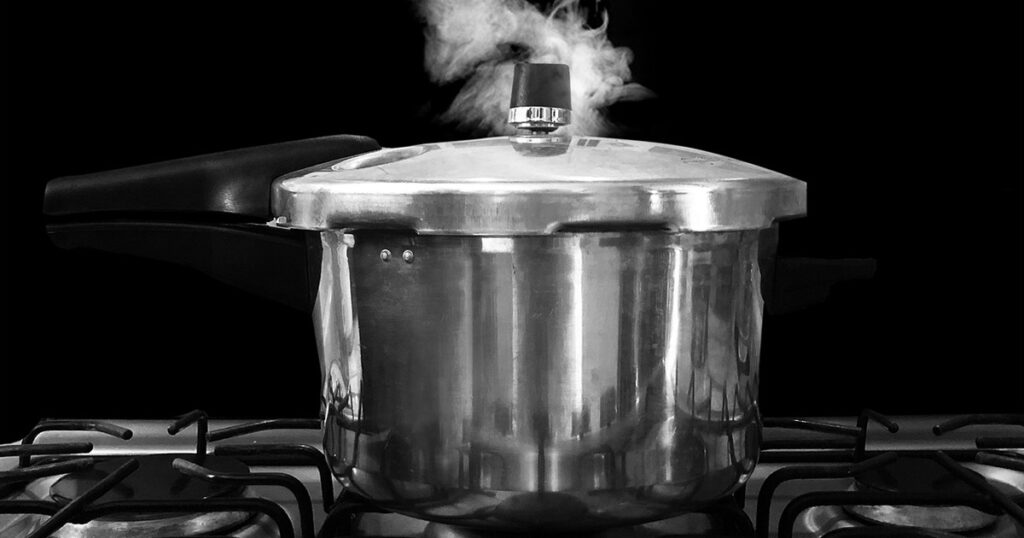
Pressure canning is an essential method for preserving low-acid foods like meats, vegetables, and broths. Unlike water bath canning, pressure canning reaches higher temperatures, ensuring food safety and that harmful bacteria are eliminated. This guide will teach you how to use a pressure canner, providing a step-by-step process for canning bone broth, meats, fish, vegetables, and beans.
User manuals are long and it’s easy to miss important steps (just ask Neil), so I created this as an outline for the pressure canning process. It also makes it a little less overwhelming for those of you just starting out. At least it did for us!
Equipment Needed
- Pressure canner
- Note: not all glass top ranges can support a pressure canner, especially a larger 23-quart size. We use a 16-quart pressure canner on our glass stovetop.
- Mason jars (pint or quart size)
- Lids and bands
- Jar lifter
- Funnel
- Wooden ladle
- Dish towel or cloth
- Wooden utensil (for removing air bubbles *do not use metal)
Step-By-Step Guide for Using a Pressure Canner
- Read the Manual: Always read your pressure canner’s manual thoroughly. Different models have specific instructions and safety features. *This article is a generalization. Following the manual for your specific model is the best way to ensure food safety.
- Prepare Your Food: Follow a trusted recipe to prepare the food you will be canning.
- Sterilize Jars: Wash jars, lids, and bands with hot, soapy water. Sterilize the jars by boiling them or using a dishwasher’s sterilize cycle.
- Fill Jars: Use a funnel to fill jars with the prepared food, leaving the recommended headspace (usually 1 inch for low-acid foods).
- Remove Air Bubbles: Slide a wooden or plastic utensil around the inside of the jar to release any trapped air bubbles.
- Wipe Rims and Apply Lids: Clean the rims of the jars with a damp cloth. Place lids on jars and screw on bands until fingertip tight.
- Prepare Canner: Add the recommended amount of water to the canner (typically 2-3 inches). Place the filled jars on the canning rack inside the canner. It is okay if jars touch.
- Secure Lid: Close the canner lid and lock it in place according to the manufacturer’s instructions.
- Vent the Canner: Heat the canner until steam flows steadily from the vent. Allow it to vent for 10 minutes to ensure all air is expelled.
- Build Pressure: Place the weight or regulator on the vent and let the pressure build to the recommended level (usually 10-15 psi).
- If pressure goes over, gently tap the rocker to release some pressure until desired level is reached. Steam will be very hot! We recommend using an oven mitt.
- Keep an eye on the pressure the entire time. If the pressure cooker goes above or below the PSI range then you will need to start all over.
- Process the Jars: Maintain the recommended pressure for the time specified in your recipe.
- Cool the Canner: Turn off the heat and let the pressure canner cool down naturally until the pressure drops to zero. If using an electric range, remove from burner—pick it up, do not slide it. Do not remove the weight or open the lid until it has fully depressurized.
- Remove Jars: Use a jar lifter to carefully remove the jars from the canner. Place them on a towel or cooling rack and allow them to cool undisturbed for 12-24 hours.
- Check Seals: After cooling, check the seals by pressing down on the center of each lid. If the lid does not flex, the jar is sealed properly.
- Store: Remove the bands, wipe the jars clean, label them with the date, and store them in a cool, dark place.
The below are some generalizations. Please always consult the manual for your specific model. Note that those of you living in elevations above 2,000 feet will need to adjust per your manual as well.
Canning Beef Bone Broth
Prepare Bone Broth
- Simmer beef bones with water, vegetables, and herbs for 12-24 hours.
- Or prepare in an Instant Pot using the soup setting on More for 4 hours.
- Strain the broth through a fine mesh strainer or cheesecloth. Let it cool and skim off any fat.
- Render the skimmed fat into tallow.
Heat Broth
- Reheat the strained bone broth to a boil, then reduce the heat and keep it simmering.
Fill Jars
- Use a funnel to ladle the hot broth into sterilized jars, leaving 1 inch of headspace.
- Remove air bubbles and wipe the rims clean.
Apply Lids and Bands
- Place the lids on the jars and screw on the bands until fingertip tight.
Process in Pressure Canner
- Follow the general steps above. Process pint jars at 11 pounds pressure for 20 minutes and quart jars for 25 minutes.
Canning Vegetables
Prepare Vegetables
- Prepare vegetables by washing, peeling, and cutting them into pieces. Blanch if necessary.
Fill Jars
- Fill jars with hot vegetables, add boiling water, and leave 1 inch of headspace.
- Remove air bubbles with wooden utensil and wipe the rims clean.
Apply Lids and Bands
- Place the lids on the jars and screw on the bands until fingertip tight.
Process in Pressure Canner
- Vegetable processing times vary greatly by vegetable. Consult your pressure canner manual accordingly.
Canning Meat
Prepare Meat
- Cut meat into pieces (or use ground meat), removing any excess fat.
- Precook meat until rare by roasting, stewing, or browning.
- For rabbit, soak one hour in water containing one tablespoon of salt per quart of water.
Fill Jars
- Pack hot meat into jars, leaving 1 inch of headspace.
- For chunked meat, do not add liquid.
- For ground meat, add boiling broth, water, or tomato juice.
- Remove air bubbles with wooden utensil and wipe the rims clean.
Apply Lids and Bands
- Place the lids on the jars and screw on the bands until fingertip tight.
Process in Pressure Canner
- For ground or chunked beef, lamb, venison, or pork, process pint jars at 11 pounds pressure for 75 minutes and quart jars for 90 minutes.
- For chunked rabbit, chicken, duck, goose, or turkey with bones process pint jars at 11 pounds pressure for 65 minutes and quart jars for 75 minutes.
- For chunked rabbit, chicken, duck, goose, or turkey without bones process pint jars at 11 pounds pressure for 75 minutes and quart jars for 90 minutes.
Canning Soups
Prepare Soup
- Prepare your favorite soup recipe, avoiding the addition of any thickeners like flour, cream, milk or cornstarch.
- Do not add noodles or other pasta or rice.
Fill Jars
- Fill jars with hot soup, leaving 1 inch of headspace.
- Remove air bubbles with wooden utensil and wipe the rims clean.
Apply Lids and Bands
- Place the lids on the jars and screw on the bands until fingertip tight.
Process in Pressure Canner
- Process pint jars at 11 pounds pressure for 60 minutes and quart jars for 75 minutes.
- If soups contain seafood, process pints and quarts for 100 minutes.
Canning Dry Beans or Peas
Prepare Bean
- Soak dried beans overnight 12-18 hours, drain then boil them 2 minutes, soak one hour and drain.
Fill Jars
- Cover prepared beans or peas with fresh water and boil 30 minutes.
- Fill jars with hot beans or peas, leaving 1 inch of headspace. Add salt if desired.
- Remove air bubbles with wooden utensil and wipe the rims clean.
Apply Lids and Bands
- Place the lids on the jars and screw on the bands until fingertip tight.
Process in Pressure Canner
- Process pint jars at 11 pounds pressure for 75 minutes and quart jars for 90 minutes.
Canning Fish
Prepare Fish
- Remove head, tail, and fins. Clean in cold water and cut fish into jar-sized pieces. You can leave the bones and skin on if desired.
Fill Jars
- Pack fish into jars, leaving 1 inch of headspace. Add salt if desired.
- Remove air bubbles with wooden utensil and wipe the rims clean.
Apply Lids and Bands
- Place the lids on the jars and screw on the bands until fingertip tight.
Process in Pressure Canner
- Process pint jars at 11 pounds pressure for 100 minutes and quart jars for 160 minutes.
Closing Thoughts
Using a pressure canner may seem daunting at first, but with careful preparation and attention to detail, it becomes a straightforward and rewarding process. Whether you’re preserving bone broth, vegetables, meats, soups, beans, or fish, pressure canning ensures that your food is safe, nutritious, and ready for long-term storage. Happy canning!


